Riesling Wine (brew?) Day.
Well, here's the long awaited first post that I promised way back in September 2012 (yikes). You're welcome.
A few months back, I was trying to decide on what kind of beer to brew for my family's Thanksgiving Day gathering. I'm a fan of a wide variety of beer, but most others in my extended family are not. I decided to go to the internet for help. I stumbled upon an episode of Northern Brewer's "Brewing TV" which was about how to make a wine from a wine kit. Normally this is a beer-centric podcast, but since wine is a fermented beverage that many beer drinkers imbibe from time to time, and since they sell wine kits at Northern Brewer (and most other homebrew shops for that matter), it made sense to showcase how easy it is to make your own wine.
After watching the episode, I knew what to make for the family—an easy drinking, simple wine. My girlfriend, parents, and even grandmother all love wine, so it totally made sense.
Come to find out, making wine from a kit is super-simple. The kit comes with detailed instructions, and all you really need to do is add the ingredients when stated, mix it really well, pitch the yeast and wait. That's pretty much all there is to it. All in all, it takes about an hour from start to finish to make the must that will become a 12-14% wine.
Here's the kit I bought from Northern Brewer. It's a Riesling kit from Wine Expert. It wasn't their cheapest kit, but it wasn't their most expensive. I picked this style because it wasn't too complicated to make and would be ready to drink in about a month. Everything needed to make the wine was included in the kit.
Just a side note: All of the normal cleaning and sanitizing steps need to be followed. Just because it's wine doesn't mean you can skimp on the important stuff.
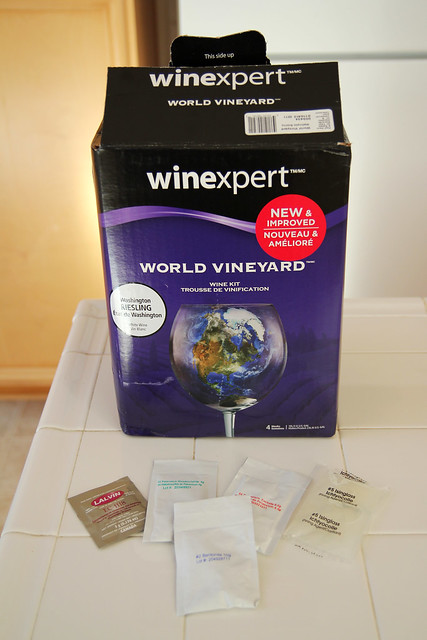
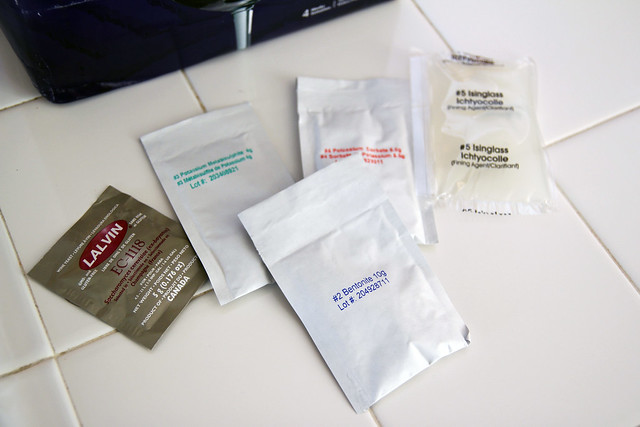
Included with the grape juice concentrate is bentonite (a fining agent), potassium metabisulphite (yeast/bacteria killer), potassium sorbate (stops the yeast from reproducing), isinglass (clarifier), and of course, Lalvin EC-1118 (yeast). The kit also comes with a flavor pack for back-sweetening the wine after fermentation, however, I didn't use it since I wanted a really dry wine. Also, because my cat, Marco, ate the bag it was in. He said it was delicious.
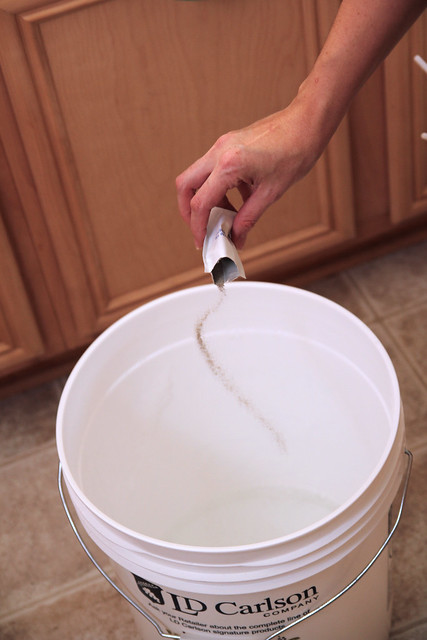
The first step is to add the bentonite to a bit of water in the fermentor bucket. Make sure it's thoroughly mixed.
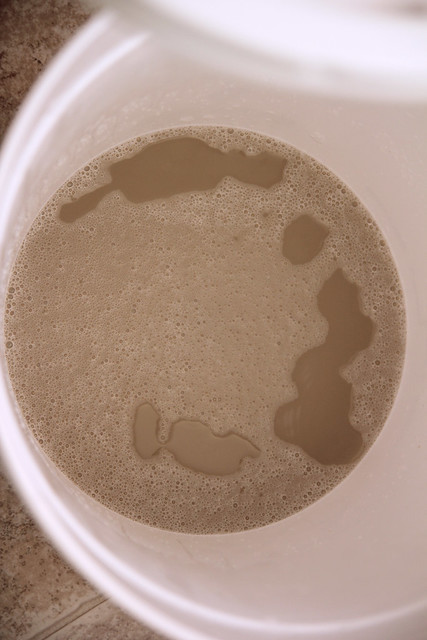
The mixed bentonite.
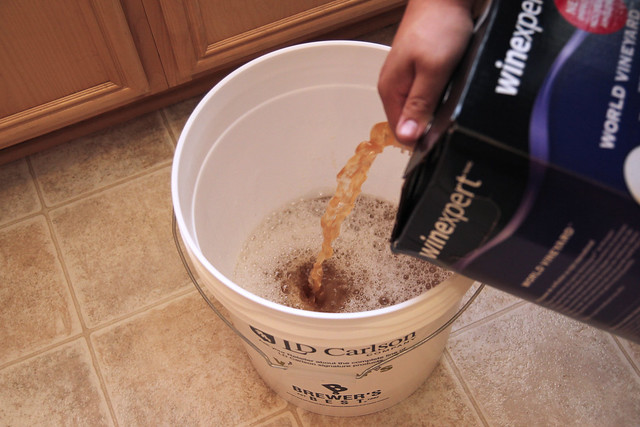
The next step is to add the grape juice. The lid on the top of the box has a special cut-out that accepts the spigot on the bag of juice to make it easy to pour. Just pour it right into the fermentor bucket. Then put a little bit of water into the bag the juice was in to get any left over juice out of the bag. Water is then added to top-off the must to six gallons. Couldn't get any easier.
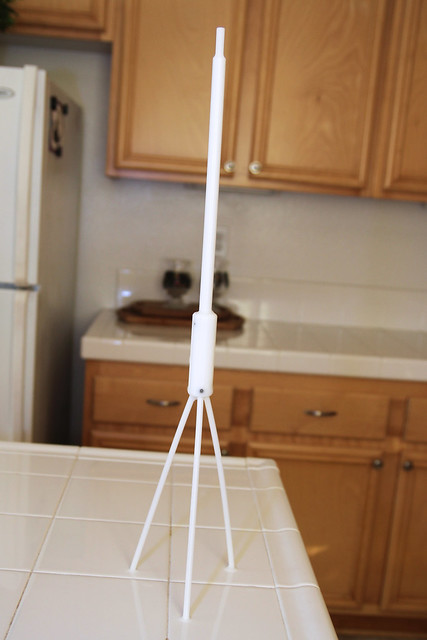
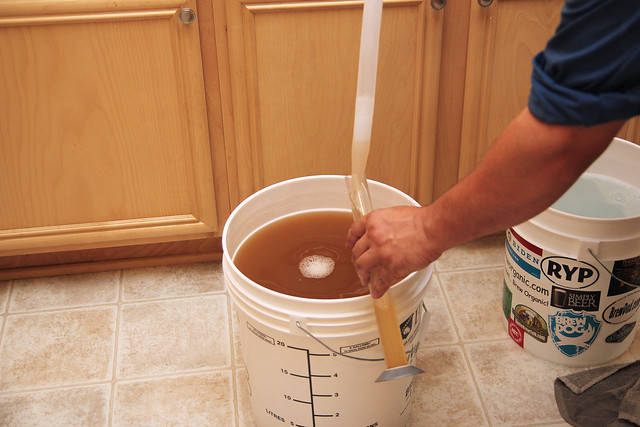
At this point, the must needs to be thoroughly mixed. From what I learned, this is the most important step. It allows the bentonite to properly mix with the juice and aerates the must. I purchased a wine wand from Northern Brewer that attaches to a power drill. It works quite well. The wine wand also fits into the opening of a carboy for mixing in the finings and de-gassing the wine after fermentation. Here's the wine wand:
Mixing the must with the wine wand attached to a drill.

After mixing the must, all that's left is to take a gravity reading, pitch the yeast and wait. The gravity for this batch was 1.083. The primary fermentation took about 10 days at 72º.
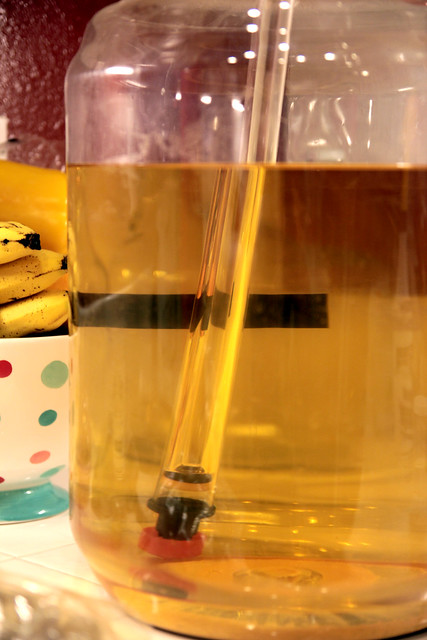
After primary fermentation, a gravity reading was taken to make sure the gravity was below 1.010 (and it was). The wine was then racked off the spent yeast to a 6 gallon carboy for secondary fermentation.
After another 10 days, another gravity reading was taken (0.993 FG) and the potassium metabisulphite, potassium sorbate, and isinglass were added to carboy. The wine wand was used to throughly mix everything in the carboy. The instructions stated that these additives and the clarifier be added with the sediment in the carboy, otherwise they will not work properly. The wine was then topped up with a little bit of water. The included flavor pack for back-sweetening the wine would have also been added here, but again, I didn't use it. After 2.5 weeks, the wine was ready to be bottled.
Bottling wine is pretty straight forward. It's just like bottling beer, except you're not adding sugar to carbonate it, and instead of using bottle caps, you're using a corker. A corker is something that you will need to purchase, or you can rent one from a homebrew shop. This is the corker/capper that I own and worked great. Having someone help you out will make this go a lot faster.
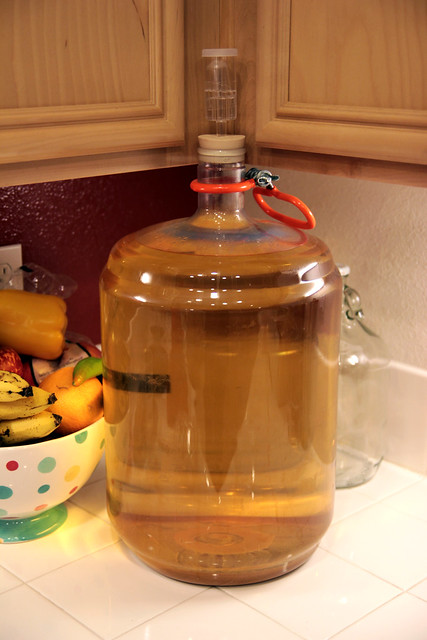
You can see from the image below that the wine cleared out very well. It's worth the wait to get the wine completely clear; nobody wants to drink a cloudy wine. It's supposed to be brilliant and clear, so just be patient.
I purchased three cases of these wine bottles from Northern Brewer. They are relatively cheap and worked great. You can also find corks and other fancy wine related items there, or at your local hombrew shop.

The finished product. I have created WINE!
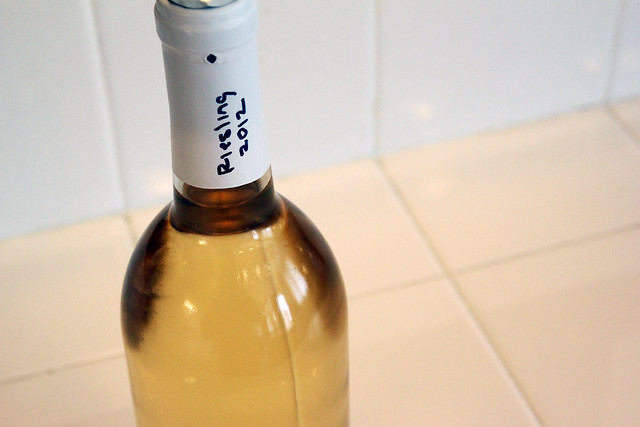
Making this wine was quite the enjoyable experience. It was super-easy to make, but still required me to reference some of the things I know about making beer. The finished product turned out great and was a big hit with the family. Everyone of age was able have as much as they wanted at our Thanksgiving day gathering, and were also able to take a bottle home. I plan making a different wine every year for Thanksgiving, and look forward to this new tradition. Maybe I'll even get into pressing my own grapes...
Cheers!
 Post a Comment